#andreoyacademy - DIY Rigitherm internal thermal insulation

Make internal thermal insulation yourself, with the instructions of #andreoyacademy. With the complete Rigitherm internal thermal insulation system, you can even yourself, quickly and simply get rid of cold walls and ceilings, blackouts & molds, moisture and drips on the walls.
#andreoyacademy tips: The cost of the Rigitherm system is subsidized in the event that the project has been included in the "I save on my own" program.

The Rigitherm Internal Thermal Insulation System contributes directly to reducing the cost of heating and cooling your home while at the same time you will have a finished plasterboard surface! For this reason it is an immediate and economical solution for any space that does not have proper insulation and is looking for high performance and at the same time a perfect aesthetic result.
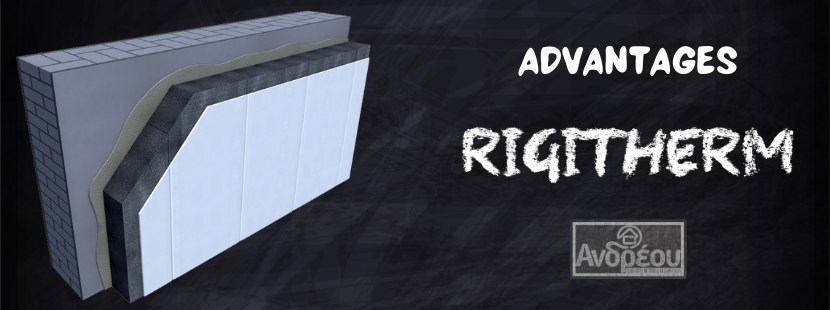
Advantages of the Rigitherm internal thermal insulation system
- It offers great cost reduction for heating or cooling, i.e. insulation all year round
- It offers a reduction in wall thickness and weight in new buildings
- Easy and quick application
- It can only be applied to a selected part of the building, even a single wall.
- The application of rigiterm is not affected at all by weather conditions.
- No scaffolding required
- They save valuable internal space (smaller thickness) compared to conventional dry building systems with the same thermal insulation properties.
- Anchoring with plugs is not required.
- They are also easily installed in underground spaces.
- They protect the environment by helping to reduce emissions from the production of energy for heating.
- They can be applied in any space.
- They offer a quality upgrade of indoor air and are user-friendly
- They enable final aesthetic options on the surface (painting, wallpaper, tiles)
- They upgrade the "value" of the building
- They have a low cost and the "investment"
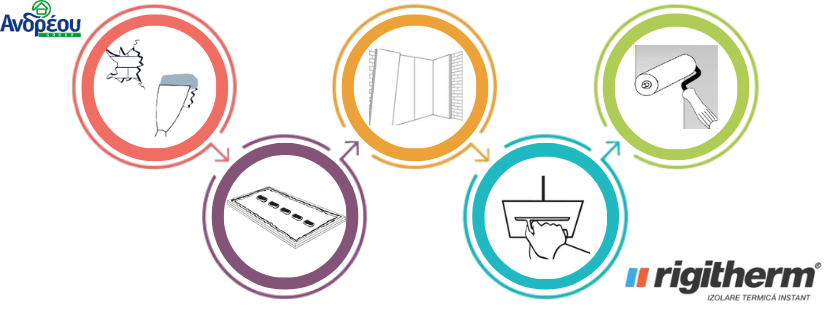
Instructions - Installation steps of Rigitherm panels
The #andreoyacademy will explain below how easily and quickly you will be able to install Rigitherm internal thermal insulation in your space. Read the detailed instructions or watch the video below and follow them.
- Preparing the space: Clean and prepare the space by removing any existing linings or materials that may obstruct the installation of the Rigitherm. Be careful that there are no brittle points cracks. If there are any, you must putty them first.
- Cutting and gluing the Rigitherm: Cut the Rigitherm into pieces that fit the dimensions of the walls or surfaces you want to insulate and apply the Rigitherm to the walls or surfaces using glue to fixing the material. The glue is placed pointwise in one or two rows along the panel and around the entire perimeter of the Rigitherm. [See the glue in our eshop]
- Application: Rigitherm panels are used for the application, the length of which is approximately 15-20 mm less than the clear height of the room. After the adhesive is applied to the panels, they are placed on the wall with a spacer at the bottom, so that a gap of about 10 mm remains on the floor and ceiling, suitable for straightening the panel and venting moisture from the glue. Finally the Rigitherm panels are leveled and aligned using a flat board. The curing of the glue depends on the temperature and humidity of the room. A period of 12 to 24 hours is recommended for the bonding material to cure. [See Rigitherm panels in our eshop]
#andreoyacademy tips: The expansion joints of the building must be respected. For cutting the panels it is recommended to use a fine saw.
- Grounding joints: Joints are puttyed in the same way as in other plasterboard constructions. After the bonding material has cured, the ventilation gap in the floor and ceiling must be filled with polyurethane foam. This will seal the detail perfectly without significant thermal bridges. [See stucco in our eshop]
- Painting: The finished surfaces, after grouting and finishing, are done according to Rigips joint treatment instructions and are ready for painting, wallpapering, and/or gluing tiles (for tiles mechanical fixing of the panels is also required) [See colors in our eshop]