#andreoyacademy - DIY N–Thermon® Interior Thermal Insulation

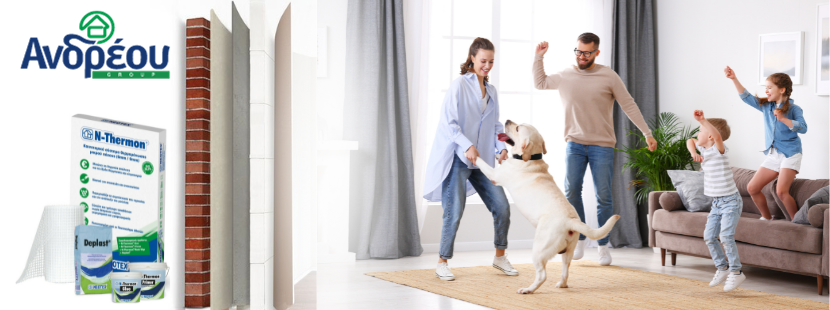
Do internal thermal insulation yourself, simply, with the help of #andreoyacademy . With the innovative N–Thermon® internal thermal insulation system, you can even yourself, easily, quickly and economically get rid of cold walls and ceilings, blackness & mold, moisture and drips on the walls.
#andreoyacademy tips: Ideal solution for spaces that we want to heat as quickly as possible, such as our holiday home or even our permanent residence when returning tired from work in the afternoon or evening.
Why use the N–Thermon® interior thermal insulation system?
- Because the overall thickness is small, thus contributing to saving space.
- It reduces thermal losses and consequently your expenses!
- The formation of moisture and mold is prevented.
- Its installation is very easy and fast.
- Its plates do not rot or decompose.
- Thermal insulation only where you need it, even on a single wall, or only behind a wardrobe!
- You don't need scaffolding and permits!
- It combines thermal insulation and interior renovation.
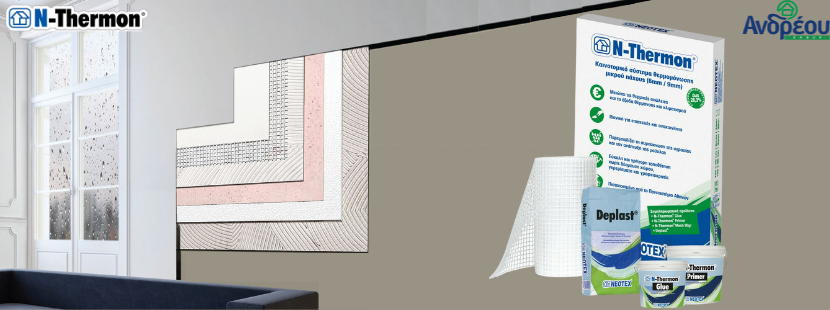
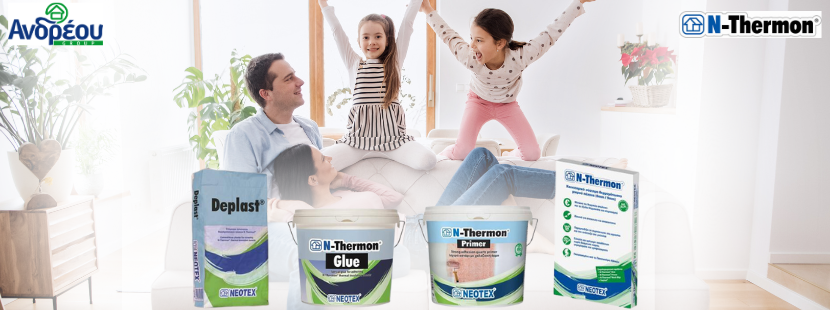
See all the materials of the N-thermon system at andreoy.gr and #andreoyacademy will explain below how easily and quickly you will be able to install internal thermal insulation in your space in two different ways.
We also have application videos below for each different way so you can see how simple and fast the application is. You can easily do it yourself, dare it and the #andreoyacademy team is as always here to support and help you every step of the way, by phone, online, and via live chat!
No plaster, just paint, the easiest and most economical way!
- We optionally prime our wall with Revinex to help the system adhere and clean the surface using a roller or brush. [See Revinex in our eshop]
- Dilute the N-Thermon glue with 10-15% water until and mix until the mixture is homogeneous. [See N-Thermon glue in our eshop]
- Place the slab and mark with a pencil the space it will take. [See the thermal insulation plates in our eshop]
- Place the N-Thermon Glue in the space and spread it with a notched spatula.
- Then we place the plate on the glue. We stabilize it with a roller, so that even the smallest air that may have remained and remove all the excess glue in the joints.
- We continue with the same process with the next plates. Be careful where there is a joint of two plates to remove the excess material with an overlay
- In the dimensions we want, we apply the N-Thermon glue with a roller or brush.
- Place Gavatex on the wall and measure the desired dimensions. [See Gavatex in our eshop]
- Then we spread the Gavatex from top to bottom, so that any air comes out
- Let the glue dry up to 12 hours and apply the 2nd coat of glue the next day
- After 24 hours we can paint our wall with a good quality interior paint
#andreoyacademy tip: If you apply behind a closet that makes you black and moldy, not all steps are needed! Just glue the thermal insulation plates with N-Thermon Glue and you're done!
#andreoyacademy tip: The wall where N–Thermon® will be applied must be completely clean and a membrane must be placed on the floor to prevent contamination.
#andreoyacademy tip: Remove socket-switches.
#andreoyacademy tip: When applying to the areas around the outlet-switches measure and cut off the excess material.
With plaster, the durable and aesthetically perfect way.
- We optionally prime our wall with Revinex to help the system adhere and clean the surface using a roller or brush. [See Revinex in our eshop]
- Place the slab and mark with a pencil the space it will take.
- Place the N-Thermon Glue in the space and spread it with a notched spatula. [See N-Thermon glue in our eshop]
- Then we place the plate on the glue. We stabilize it with a roller, so that even the smallest air that may have remained and remove the excess glue. [See the thermal insulation plates in our eshop]
- We continue with the same process with the next plates. Be careful where there is a joint of two plates to remove the excess material with an overlay
- When the installation of the tiles is complete, we wait for it to dry for up to 24 hours.
- Then we prime the slabs with N-Thermon Primer undiluted or diluted up to 3% with water. [See N-Thermon Primer in our eshop]
- We wait again for the N-Thermon Primer to dry up to 24 hours
- Then we prepare the ready-made Deplast plaster with 1 kg of Revinex to strengthen it even more. [See Deplast plaster in our eshop]
- Mix it until it is homogeneous and apply it everywhere with a toothed spatula
- With the Deplast fresh, spread the N-Thermon Mesh 90g from the top of the wall to the bottom. [See N-Thermon Mesh in our eshop]
- Let the first coat dry (up to 2 hours) and apply the prepared plaster again
- After 2 hours, wet the surface with water and rub the plaster to have a smooth surface
- It remains to paint after 24 hours with the color of our choice.