#andreoyacademy - DIY: Renew your Swimming Pool!
Submitted on
Section

Upgrade the aesthetics and durability of your pool easily and affordably!
#andreoyacademy is here to guide you step by step through the process of painting your pool with pool paints, ensuring a flawless and durable result.

Why choose Pool Color?
Pool paints are special, high-quality, two-component, polyurethane-based paints, ideal for painting pool surfaces (make sure it is compatible with the material of your pool, e.g. concrete, plastic).
They stand out for:
- Excellent resistance: To abrasion, chlorine and other pool cleaning chemicals, UV radiation and weather conditions.
- Excellent adhesion: Ensures long-lasting results without peeling, even on surfaces that are constantly in contact with water.
- Waterproofing: Protects the pool surface from water penetration.
- Easy application: Even for amateurs, with the appropriate tools and following the instructions.
- Attractive appearance: Offers a uniform and shiny finish.
What you will need:
- Pool paint : Calculate the quantity according to the surface area of your pool, following the manufacturer's instructions. You will need both components (base and catalyst).
- Thinner : For thinning paint and cleaning tools. Make sure it is appropriate for the type of paint you will be using.
- Stiff broom or brush : For cleaning the pool.
- High-pressure washer (optional): For more effective cleaning.
- Scraper : For removing any loose paint or dirt.
- Sandpaper (medium and fine grit): For smoothing the surface. If there are severe irregularities, start with a coarser sandpaper.
- Paint brushes and rollers : Choose sizes depending on the surfaces you will paint.
- Stirrer : For good mixing of the paint components.
- Mixing containers : Clean containers for preparing the paint.
- Protective gloves : For your safety.
- Paper tape or nylon (optional) : To protect surrounding surfaces.
Step by Step: The Dyeing Process
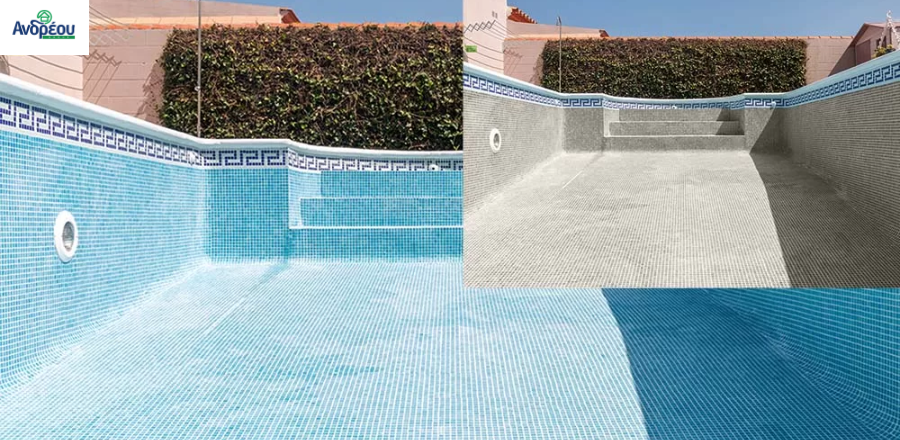
1. Surface Preparation: The Key to Success
Proper preparation is the most important step for a flawless result.
- Emptying the pool: Empty the pool completely and ensure proper drainage of the water. Allow it to dry thoroughly for several days, depending on weather conditions. The surface must be completely dry before applying the paint.
- Cleaning: Thoroughly remove all dirt, leaves, algae, oils and any loose pieces of old paint with a stiff broom or brush. For stubborn stains, you can use special pool cleaners. A high-pressure washer can help significantly at this stage. Finish with a good rinse with water to remove any cleaning residue.
- Inspection and repair: Check the surface for any cracks or damage. Repair with a suitable pool repair material, following the manufacturer's instructions. Allow the repair materials to dry completely. Repairs should be made before sanding.
- Sanding: Lightly sand the entire surface with medium-grit sandpaper to create a slightly rough surface that will help the new paint adhere. Then sand with finer grit sandpaper for a smoother finish. Remove dust thoroughly after sanding.
2. Preparation of the Paint:
- Mixing: Follow the manufacturer's instructions closely regarding the mixing ratio of the two components (base and catalyst). Mixing must be done exactly according to the instructions, as the wrong ratio can affect the result. Usually, they are mixed in a specific ratio just before application. Mix well with the stirrer for a few minutes until a homogeneous mixture is created. Mix the paint well before each use, even during application.
- Thinning (optional): If necessary, you can thin the paint with Polyurethane Thinner in a small amount, always according to the manufacturer's instructions, for easier application, especially in the first coat.
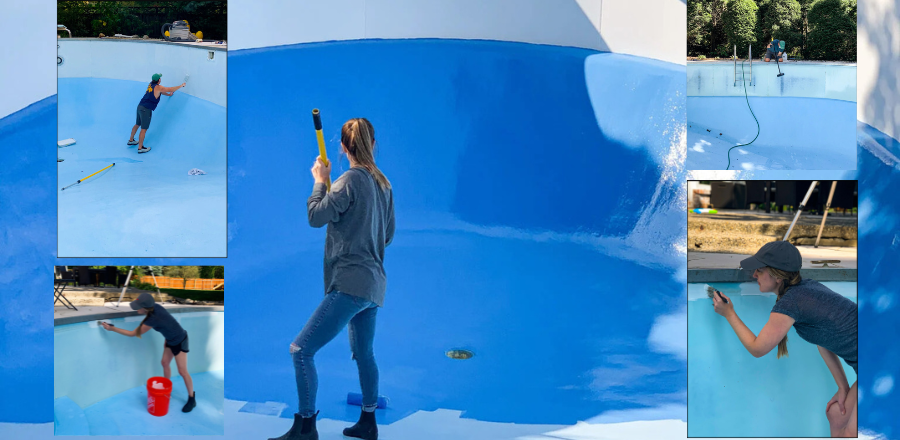
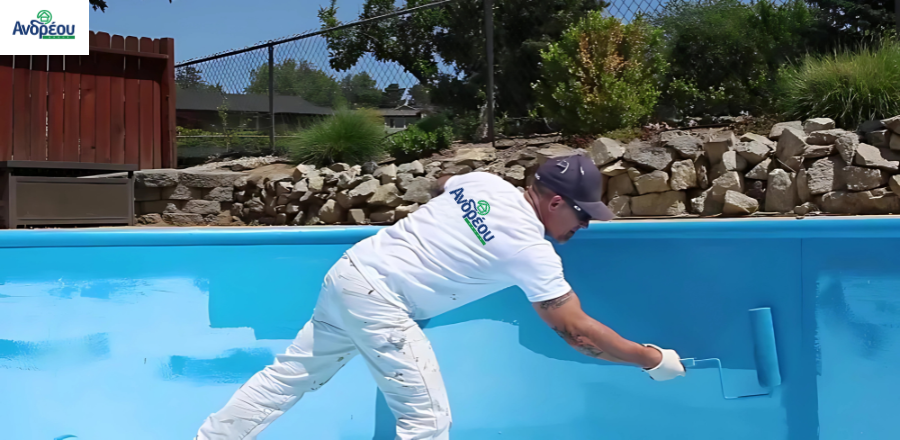
3. Applying the Color:
- Application conditions: Ensure that the ambient and surface temperature is suitable (usually between 10°C and 35°C) and that there is no forecast of rain or very high humidity for at least 24 hours after application. Avoid application in direct sunlight.
- First coat: Apply the first coat of paint evenly over the entire surface of the pool using the polyurethane-based brushes and rollers. Start from the corners and difficult spots with the brush and continue with the roller for larger surfaces. Pay attention to the even distribution of the paint and to avoid the formation of drops.
- Drying time: Allow the first coat to dry thoroughly for the time indicated in the product instructions. This is a critical factor in the durability of the result and should not be rushed.
- Second coat: Apply a second coat of paint in the same way. The second coat ensures better coverage, durability and uniformity of the color.
- Drying: Allow the second coat to dry completely for the time recommended by the manufacturer before filling the pool with water. This time can be several days, depending on weather conditions.
4. Cleaning Tools:
Clean brushes, rollers and mixing containers with polyurethane thinner immediately after painting is completed.
#andreoyacademy tips:
- Read the paint manufacturer's instructions carefully before you begin.
- Work in a well-ventilated area and always use protective gloves, a mask and goggles.
- Do not mix more paint than you can use within the pot life of the mixture, as stated in the instructions.
- If you are painting for the first time, it may be helpful to do a test on a small, inconspicuous area of the pool.
- For best results, avoid application on very hot or very cold days, as well as in conditions of high humidity.
- Store leftover paint according to the manufacturer's instructions.
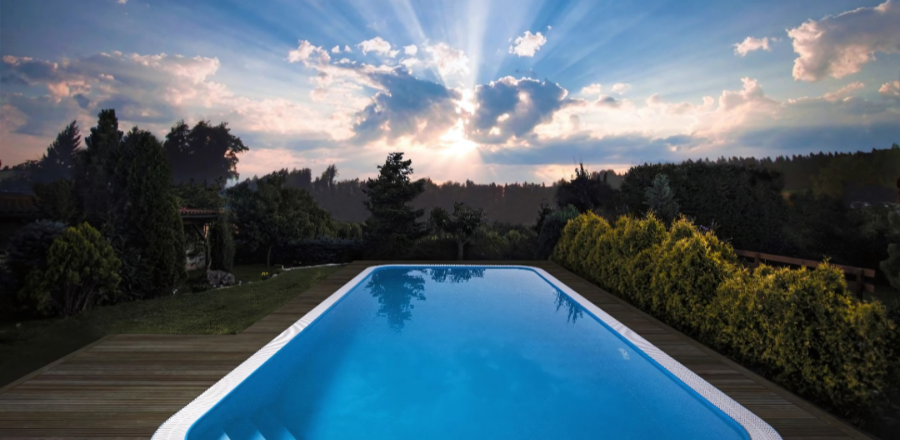
With pool paints and following the steps above, your pool will acquire a new, impressive appearance that will last for many years! Enjoy your summer dips in a renewed and shiny pool!