#andreoyacademy - DIY Repair of Cracks and Damage to Exterior Walls

Don't let minor damage worry you. See how to fix them yourself, easily and quickly.
Cracks and damage to walls are one of the most common problems that can be encountered in a space — whether it is an older building or a more recent construction that has undergone minor stresses. They can be caused by shrinkage of materials, moisture, natural wear and tear, or even minor subsidence of the building.
The good news is that, in most cases, the repair can be done easily and quickly with a DIY approach, without necessarily needing a professional.
In this guide from Andreou Academy, we will see step by step how to repair cracks and damage to exterior walls, in order to restore the aesthetics and stability of your space.

Crack inspection and assessment
Before you start, consider the size and depth of the crack.
- Small capillary cracks: They are usually only an aesthetic problem and need light filling.
- Larger or deeper cracks: May require tape reinforcement and more coats of putty.
#andreoyacademy tip: If the crack continues to grow or reappears after a while, there may be a structural problem — in this case, contact a professional.
What you will need – Materials and Tools:
To get a proper and durable result, prepare in advance all the materials and tools you will need:
- Soft cloth or cleaning sponge – to remove dust and debris.
- Fine sandpaper – for sanding around the crack.
- Spatula or trowel – for applying the putty.
- Wall putty – or acrylic putty , depending on the case.
- Reinforcing tape (mesh or fiberglass) – for larger cracks.
- Primer – optional, for better paint adhesion.
- Final paints - Acrylics , Elastomers , Cool , Nanotechnology
- Container with clean water – for cleaning tools.
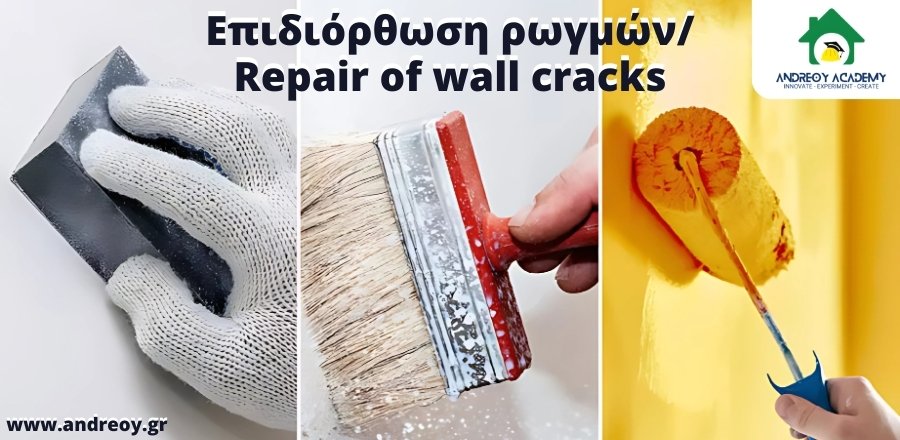
Step-by-Step Repair Process
Cleaning the area
With a soft cloth or brush, remove dust, dirt, and loose pieces. A clean wall helps the putty adhere better.
Sanding around the crack
Use fine sandpaper to lightly sand the area around the crack. This creates a slight roughness that will help the putty adhere.
Reinforcement (if needed)
- For cracks larger than 2-3 millimeters wide or several centimeters long:
- Cut a piece of reinforcing mesh tape.
- Place it on the crack, pressing lightly, so that the problem area is completely covered.
- This prevents the crack from opening in the future.
Applying putty
- Take a small amount of putty with the spatula.
- Apply it with gentle movements, pressing lightly so that it penetrates deep into the crack.
- Level the surface by removing the excess with the spatula.
#andreoyacademy tip: It's better to apply two or three thin coats of putty than one very thick one.
Drying and sanding
Allow the putty to dry completely, following the time indicated by the manufacturer.
Lightly sand with sandpaper until a smooth and even surface is created with the rest of the wall.
Priming (optional)
Applying primer ensures that the paint will adhere evenly and last longer. It is not mandatory, but on walls that are painted frequently or in humid areas, it is recommended.
Painting
Apply the final color with a brush or roller, making sure it matches the rest of the wall.
For best results, apply two coats with drying time in between.
#andreoyacademy tips:
- Work on a day with a dry atmosphere, avoiding very humid environments.
- If you interrupt your work, try to leave the edge of the painting with an irregular line so that the "joint" is not visible when you continue.
- Clean your spatula and tools immediately so that the putty doesn't dry on them.
- On walls with many small cracks, it is better to cover the entire surface with a thin layer of putty for a uniform finish.

Conclusion
Repairing cracks and damage to walls is not a difficult process, as long as you follow the steps correctly: cleaning, preparing, reinforcing (if necessary), filling, sanding and painting.
With a little care and patience, you can achieve a professional result, restoring both the appearance and durability of your wall.