#andreoyacademy - DIY Roof Waterproofing
Roof waterproofing! Do roof insulation by yourself, surely, easily, economically!
Roof waterproofing is one of the most important maintenance tasks your home needs. Now waterproofing it with #andreoyacademy is easier than ever and you can do it yourself, using Isomat products.
What you need to pay attention to, before starting roof waterproofing.
- The application of the materials should not be done when the weather is rainy, or rain is predicted to come in order to prevent the fresh material from being washed away by a sudden rain.
- In the months when there is morning humidity, prefer to work after 10-11 in the morning so that they are dry
- In the months when it is very hot, prefer to work either early in the morning or very late in the afternoon so that your plate is not too hot
- The ambient temperature should not be above 35°C and below 5°C
- Don't neglect to clean your roof well before starting. A clean surface means better adhesion for materials! In other words, better roof waterproofing!
- A basic condition for a long life that you will see in the specifications of the waterproofing materials is that your roof has satisfactory slopes, so that there is no stagnant water.
- Where there is a lot of standing water, expect a shorter life of the insulation, meaning you will need to maintain sooner than expected. Simply put, it will need a touch of paint on top sooner than the rest of your roof that doesn't hold water.
- If you do not have the relevant knowledge and experience, we suggest you use an acrylic or hybrid roof insulation, which is diluted with water and is much easier to apply than polyurethanes
#andreoyacademy tip #1: Save valuable time and energy . You don't need to wash every time brushes rolls etc. Wrap well in a bag and close it as tightly as you can . It can keep them for 2-3 days without drying out!
#andreoyacademy tip #2: Buy good tools! Don't skimp, the right tools will make your life easier and ensure a good passage of the materials!
Basic tools you will need:
- A good roller with its handle (if you don't already have an old roller)
- Brush , or a good brush
- A pole

Let's now move on to the steps you will take to properly waterproof your roof
- We check the weather report before we start.
- We never get tired of cleaning our roof well
- The easiest way to apply for beginners is one material each day.
- First day the primer, the next day the first layer of insulation and the day after that the second layer of insulation.
- Prefer consecutive days so that your roof does not collect dust and dirt. You will need to clean again!
- The second layer of the insulating material must always be done crosswise in relation to the first!

Substrate preparation
- The substrate must be dry and free of loose materials, dust, grease, etc. Very important step , we want a healthy substrate before applying the following materials.
- If your roof doesn't have black spots on it, and is relatively clean, a good sweep is enough.
- If it is very dirty, (e.g. it has black spots, plants, etc.) it will take more effort... Everything must be removed.
- You can use a pressure washer and where necessary rub locally to remove stubborn dirt (blackheads, moss, etc.). If necessary, scrub locally with a wire or wire brush.
- Don't forget to wipe the surface too to have a clean surface for the next step.
#andreoyacademy tip #3: Don't hurt the surface by cleaning it! You will see below that you will be tired of repairing it afterwards!
Local repairs
In case there are detachments in the concrete that have created holes, etc. it is recommended to repair and fill the problem areas with MEGACRET-40 , a fiber-reinforced, high-strength repair cement mortar from Isomat. The same is recommended for the perimeter of the roof at the points where the waterproofing of your roof will rise 5-10 points around the perimeter.
#andreoyacademy tip #4: You can skip the above step. Simply because it will hold water it will need a layer of insulation locally much faster than the rest of the roof.

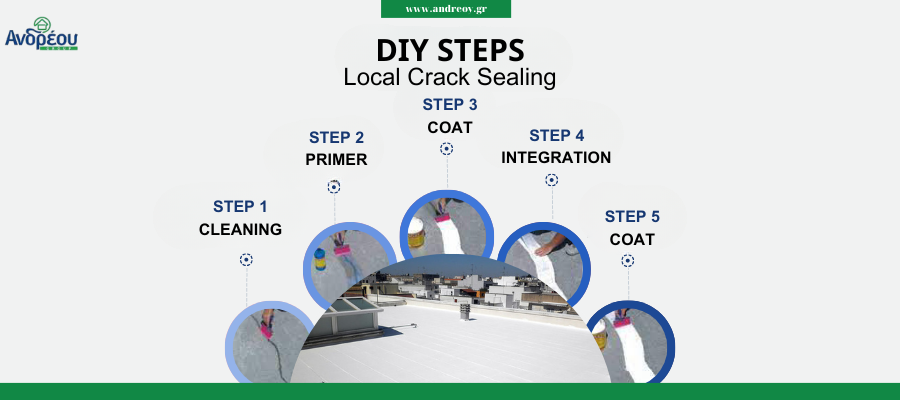
Local crack sealing
- We clean the cracks well, so that they do not contain dust, foreign materials, etc.
- You can also clean it with a pressure washer and then wipe thoroughly.
- We are waiting for the surface to dry!
- Priming the surface only along the cracks and in a width of 10-12 cm.
- After the primer has dried, the first coat of roof insulation of your choice is applied, 10-12 cm wide, along the cracks
- Immediately, before the first layer dries, we place our reinforcement. You can use fiberglass tape or polyester fabric about 10 cm wide.
#andreoyacademy tip #5: Wear disposable gloves to avoid getting dirty and simply place and press the tape onto the fresh material. If you want, press locally with the brush you applied before the insulator. It's simple, you stick two papers with selotape!
- Let the materials dry well and then apply two more layers with the roof insulation we have chosen. We wait for each layer to dry well before the next one!
#andreoyacademy tip #6: And you can skip this step. But you will risk opening the insulating material at this point. Solution: you will reapply 1-2 layers of insulation if and when the material eventually "breaks" locally.
First day: We pass the primer.
This is followed by priming the surface. The primer depends on the roof insulator you choose. Very important step, it penetrates your slab, protects it, strengthens it and ensures perfect adhesion of the roof insulation that will follow.
#andreoyacademy tip #7: We remind! Apply the primer on a clean and dry surface! Be careful to apply primer to the entire surface without leaving any gaps.
- Primer consumption depends on how absorbent your roof is. The usual is from 200-300gr/m 2 , that is, in simple words, 2 to 3 kg per 10m 2 .
- Apply with a roller and around with a thick brush or brush.

Second & third day: Application of the roof insulation.
The final job you have to do for the total waterproofing of your roof!
- Apply the roof insulation by brush or roller in 2 layers, always after the primer has dried. The second layer is done crosswise and after the first one dries and becomes passable , usually one layer has a difference of one day from the other.
- Do not forget that the application of the roof insulation must also extend around the parapet , at a height of at least five centimeters.
- Make sure your roller or brush has enough material at all times so that you apply the correct amount of material evenly.
- With a roll, the work is done faster and usually with less material. Don't forget to get the right roll, don't skimp, you'll be spoiled!
#andreoyacademy tip #8: Don't worry about the appearance before the last coat. It's normal for imperfections to appear! Just apply the primer and the first layer of insulation properly over the entire surface without gaps, and in the second layer the appearance will be fixed!
#andreoyacademy tip #9: If you apply a third layer, it increases the life of your waterproofing.
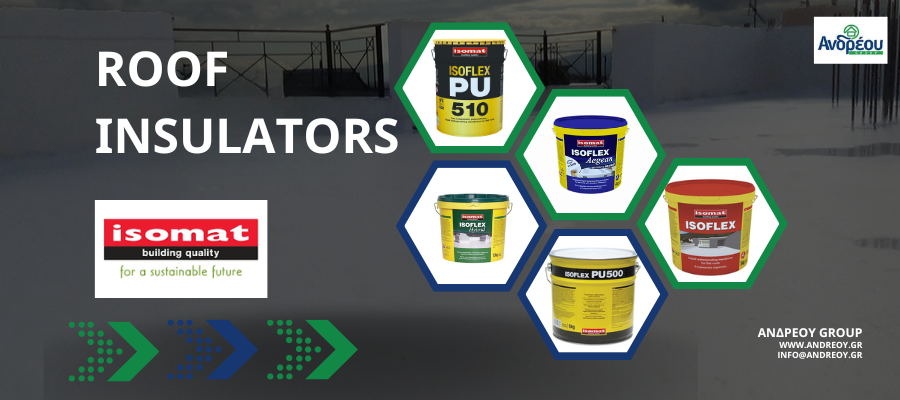
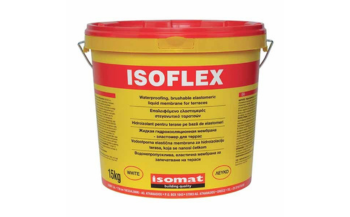
Simple and sure solution for waterproofing your roof. Solvent-free, diluted with water, recommended for ease of application. Reliability and quality tested for many years!
- High elasticity.
- Great resistance to weather and time.
- High whiteness and solar reflectivity.
- Consumption: 1.0-1.5 kg/m 2 , depending on the substrate for two layers
- Primer required: ISO PRIMER
- Dilution : With water
- Washing tools : With water
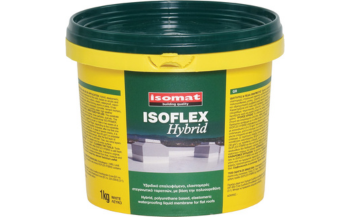
Innovative hybrid technology. It combines acrylic and polyurethane resins but is easy and friendly to use because it is diluted with water. Its big plus is also that it is water vapor permeable, so the roof continues to breathe, it does not seal it
- New technology combines the advantages of acrylic and polyurethane
- Easy and economical application
- Consumption 0.5-0.75 kg/m2 per layer, depending on the substrate
- Primer required: ISO PRIMER
- Dilution : With water
- Washing tools : With water
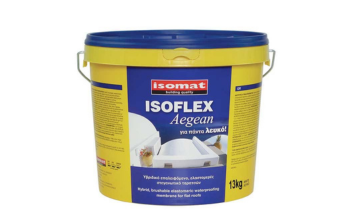
The Ultra White Hybrid Roof Insulator. New hybrid technology that combines the advantages of acrylic and polyurethane resins. Due to its composition as well as its timeless whiteness, it contributes to the improvement of the energy efficiency of the building by reducing the temperature of the roof surface.
- Resistance to stagnant water
- High elasticity
- Consumption 0.5-0.75 kg/m2 per layer, depending on the substrate
- Primer required: ISO PRIMER
- Dilution : With water
- Washing tools : With water
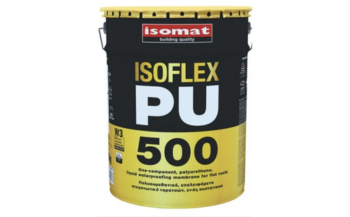
The king in roof waterproofing . One-component polyurethane certified for a life expectancy of up to 25 years! So absolute tightness and with so much durability over time that its application does not require smoothness of the substrate, and it is even recommended for planted roofs, planters, foundations and much more.
- Excellent resistance : mechanical, chemical, thermal, UV radiation and weather effects.
- Very good adhesion to various surfaces, such as concrete, cement mortars, wood, etc. and to most sealing layers.
- CE certified as a concrete surface protection product according to the EN 1504-2 standard.
- Certified for an expected life of 25 years under the worst test conditions defined by the standard
- Consumption 0.5-0.75 kg/m2 per layer, depending on the substrate
- Primer required: EPOXYPRIMER 500 (A+B)
- Dilution : Not required. If necessary with SM - 28
- Washing tools : Solvent SM-28